By 4pm on Saturday we had a flat rectangle of earth, 1.8 metres by 0.9, and no bed at all. The levelling took the whole day. The building, on Sunday morning, took forty minutes. I'd like that on the record before anyone tells me gardening is relaxing.
A level that isn't
The middle level of our garden is a level in the way the Peak District is flat. Across the width where the beds go, the ground falls about 12 cm. Matt laid a long straight plank across the footprint with the spirit level on top, watched the bubble run off the end, and started again with the spade. We cut the uphill end into the bank, used the spoil to build up the downhill side, checked, cut, checked, and did it all again for the second bed. Somewhere around the fourth check I said the bubble looked close enough. Matt said nothing at all, which in our house is a full sentence.
The boards came from Facebook Marketplace: three scaffold boards at £10 each, from a scaffolder clearing out his lock-up in Hillsborough. Each is 3.6 metres long, 225 mm wide and 38 mm thick, with a different tide mark of old cement and paint. Kev collected them on the trailer on Friday evening, because a 3.6 metre board and a 2015 Fiesta are not compatible. He then stayed for tea and told us the stack looked "a bit thin", which is Kev for "good".
Forty minutes of building
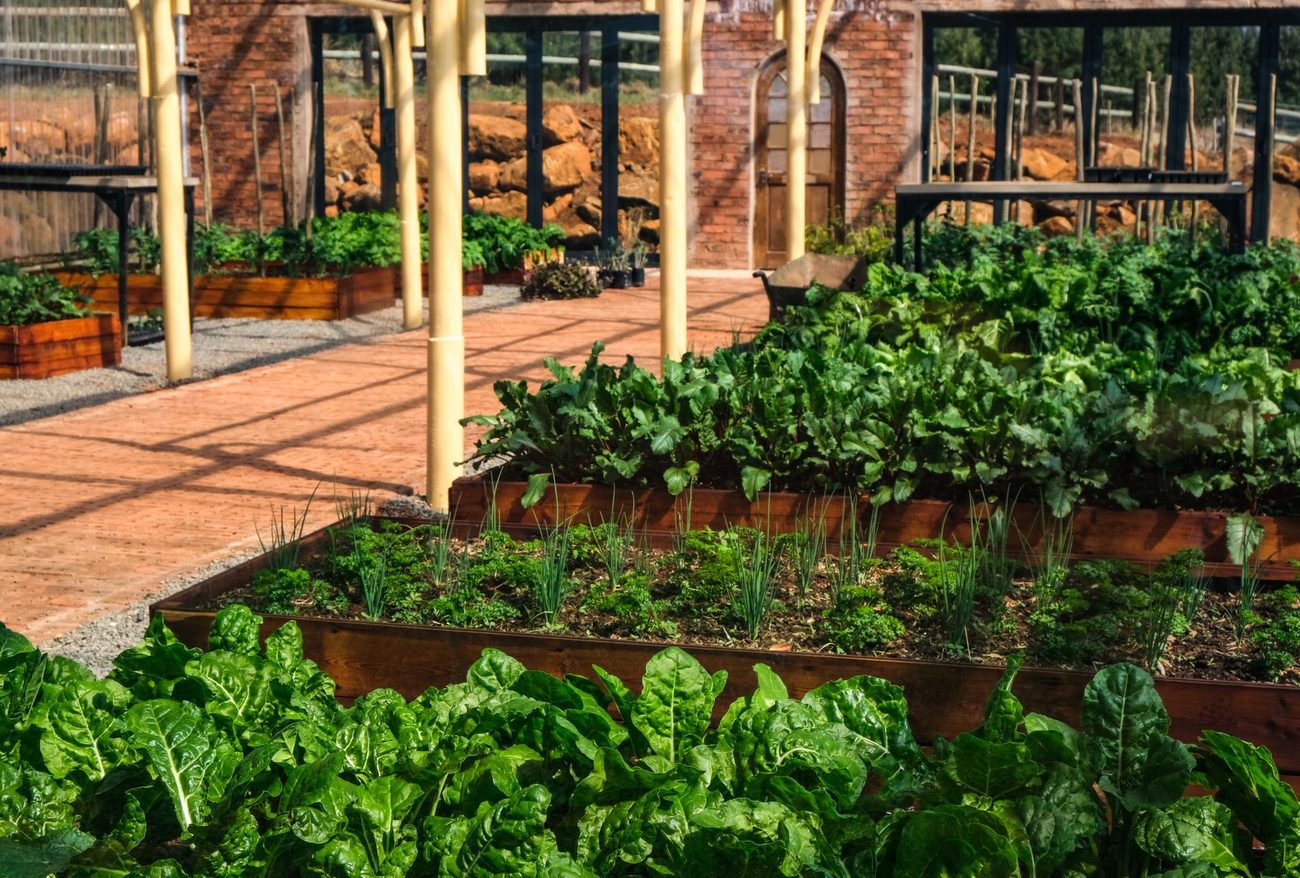
Each bed is one course of board high, so about 22 cm deep, with 1.8 m sides and 0.9 m ends. Scaffold boards are too wide for Matt's mitre saw, so he cut them on the workbench in the shed with a handsaw, and corner posts of 47 mm timber went inside each corner with 75 mm exterior screws through the boards. On the second bed one end came out 12 mm short. "Measure twice, swear once," said Matt, who then did only the second part. We stapled weed membrane to the inside faces of the boards, not across the bottom, so roots and worms can still get down and the wet soil stays off the wood.
The spoil from the levelling went in first, and seven bags of topsoil carried up the stone steps from the back door went on top. Here is what it cost:
- Three scaffold boards: £30
- Corner posts: £12
- Exterior screws: £9
- Weed membrane: £7
- Topsoil, seven bags: £38
That is £96, plus a few pounds of plants that I'm not counting because the plants are the point. If I did it again I'd make the beds two boards high. Twenty-two centimetres is fine for lettuce and just about fine for beans, but thin for tomatoes, and a second course is already on the list.
What went in, and who got there first
We planted on Saturday 14 June: four tomato plants, a tray of lettuce plugs and seven runner beans. The beans came from Dennis's seed tin. Of the ten I put on damp kitchen roll, seven had sprouted six days later, which Jas called "a decent return for something that's been in a shed since 2023". They went in along the back of the first bed, up a wigwam of bamboo canes that were also in the shed. Dennis's labelling system, at least, has paid for itself.
It was also Pickle's first day outdoors after four weeks inside. She came out of the back door, looked at the steps, walked straight to the new beds and spent a long moment considering the soil. On Sunday morning we found three lettuces dug up and a very confident litter tray in the corner of bed two. Jas gave us a bundle of prickly rose prunings, which now lie across the soil like a very small, very unwelcoming fence. Maureen peered over the wall. "Ron used holly," she said, in what I'm fairly sure was a kind voice.
Score at the time of writing: tomatoes 4 out of 4, beans 7 out of 7, lettuces 5 out of 8, cat 1.