The grout reviver pen cost £3.50 and made no difference at all, which is how I ended up kneeling in the bath on Saturday 22 November with a grout rake and my head torch. It had looked white for exactly one shower. After that the wet tiles took the pen off in streaks and the black came straight back through, as if the grout were laughing at me.
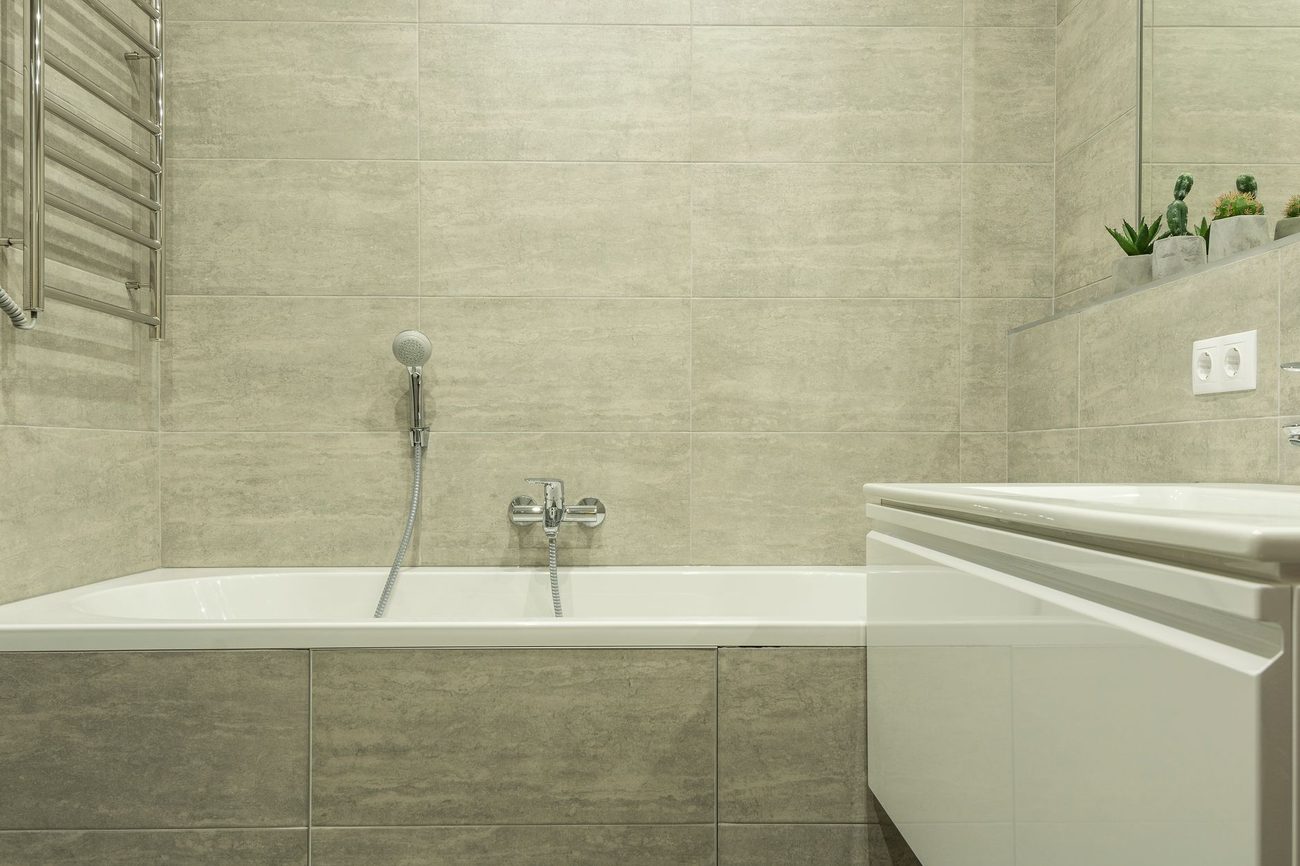
The bathroom isn't old, exactly. The peach suite dates from around 1992 and I've made my peace with it. But the grout between the tiles above the bath had gone grey-black, and the sealant along the bath edge was peeling away with dark freckles underneath, and together they made the room look about thirty years older than it is. The fan went in on 7 November, so at least the air had stopped working against us.
Evening one: the grout
A grout rake is a small handle with a hard-edged tip, and it drags the old grout out to about 3 mm deep. I wore a dust mask and glasses for it, because the dust goes everywhere, and Matt hoovered behind me as I went. The old grout was crumbly and grey right through, which told me this was more than a surface stain. I rinsed the joints with a damp sponge, let them dry, and pushed in ready-mixed white grout with a rubber spreader in small patches.
I did too big a patch at the start, and it skinned over before I could wipe it clean, so the first section needed a second go with a damp sponge the next day to shift the haze. The new grout needs 24 hours before it gets wet, ideally 48, which meant no showers in our bath for a few days. We used the showers at the gym from Sunday to Tuesday morning. I have never been so clean.
Evening two: the sealant
The sealant is where I'd gone wrong in June. I'd run a bead along the empty bath, and within three weeks it had split along the bottom of the tiles. A bath moves when it's full of water and a person, and a bead put in while it's empty gets stretched apart the first time you fill it. This time Jas, who did his own bathroom a few years ago, told me to fill the bath first, and I'm now a convert.
On Monday 24 November I cut out the old sealant with a craft knife and scraped off what was left with a plastic scraper. Then I wiped the joint with white spirit on a cloth to take off the last greasy film, and left it to dry. I stuck masking tape along the tile edge and the bath edge, leaving a gap of about 3 mm. Then I filled the bath to the overflow with cold water and ran the sealant along it in one steady pass, with the nozzle cut at an angle. The smell of vinegar filled the room, which is just how silicone smells.
I smoothed the bead with a finger dipped in water and a drop of washing-up liquid, and pulled the tape off straight away, at an angle, while it was still wet. The line came out ruler-straight, which would be news to the slug trail along the front-room skirting. The tape was the lesson from the front-room skirting in September, finally put to use. We left the bath full overnight and all of Tuesday to cure, and I pulled the plug at about 6pm. The bath dropped a millimetre or two as the water drained, and the line of sealant didn't move. I stood there longer than a grown woman should, admiring a straight line of silicone.
What it cost
- Grout reviver pen, wasted: £3.50
- Grout rake: £4.50
- Ready-mixed white grout: £5
- Anti-mould sanitary silicone: £6
That's £19, with the masking tape, white spirit and craft knife already in the cupboard. The reviver pen was the dud, and I'd have been £3.50 better off going straight to the rake. I'll look at the grout lines again after Christmas, once the fan has had a few weeks of proper winter. If the black comes back, I'll know the grout was never the whole story.